 English
  Español
  Português
  Deutsch
  Français
  Italiano
  日本語
日本語  中文
中文  हिन्दी
  עברית
עברית  العربية
  한국어
한국어  Nederlands
  Polski
  Türkçe
  Українська
  Русский
  Magyar
  Română
  Български
  Čeština
  Ελληνικά
  Svenska
  Dansk
Dansk  Norsk
Norsk  Suomi
Suomi  Bahasa
  Tiếng Việt
  Tagalog
  ไทย
ไทย  Latviešu
  Lietuvių
  Eesti
Eesti  Slovenčina
  Slovenščina
  Hrvatski
  Македонски
  Қазақ
Қазақ  Azərbaycan
  Afrikaans
  বাংলা
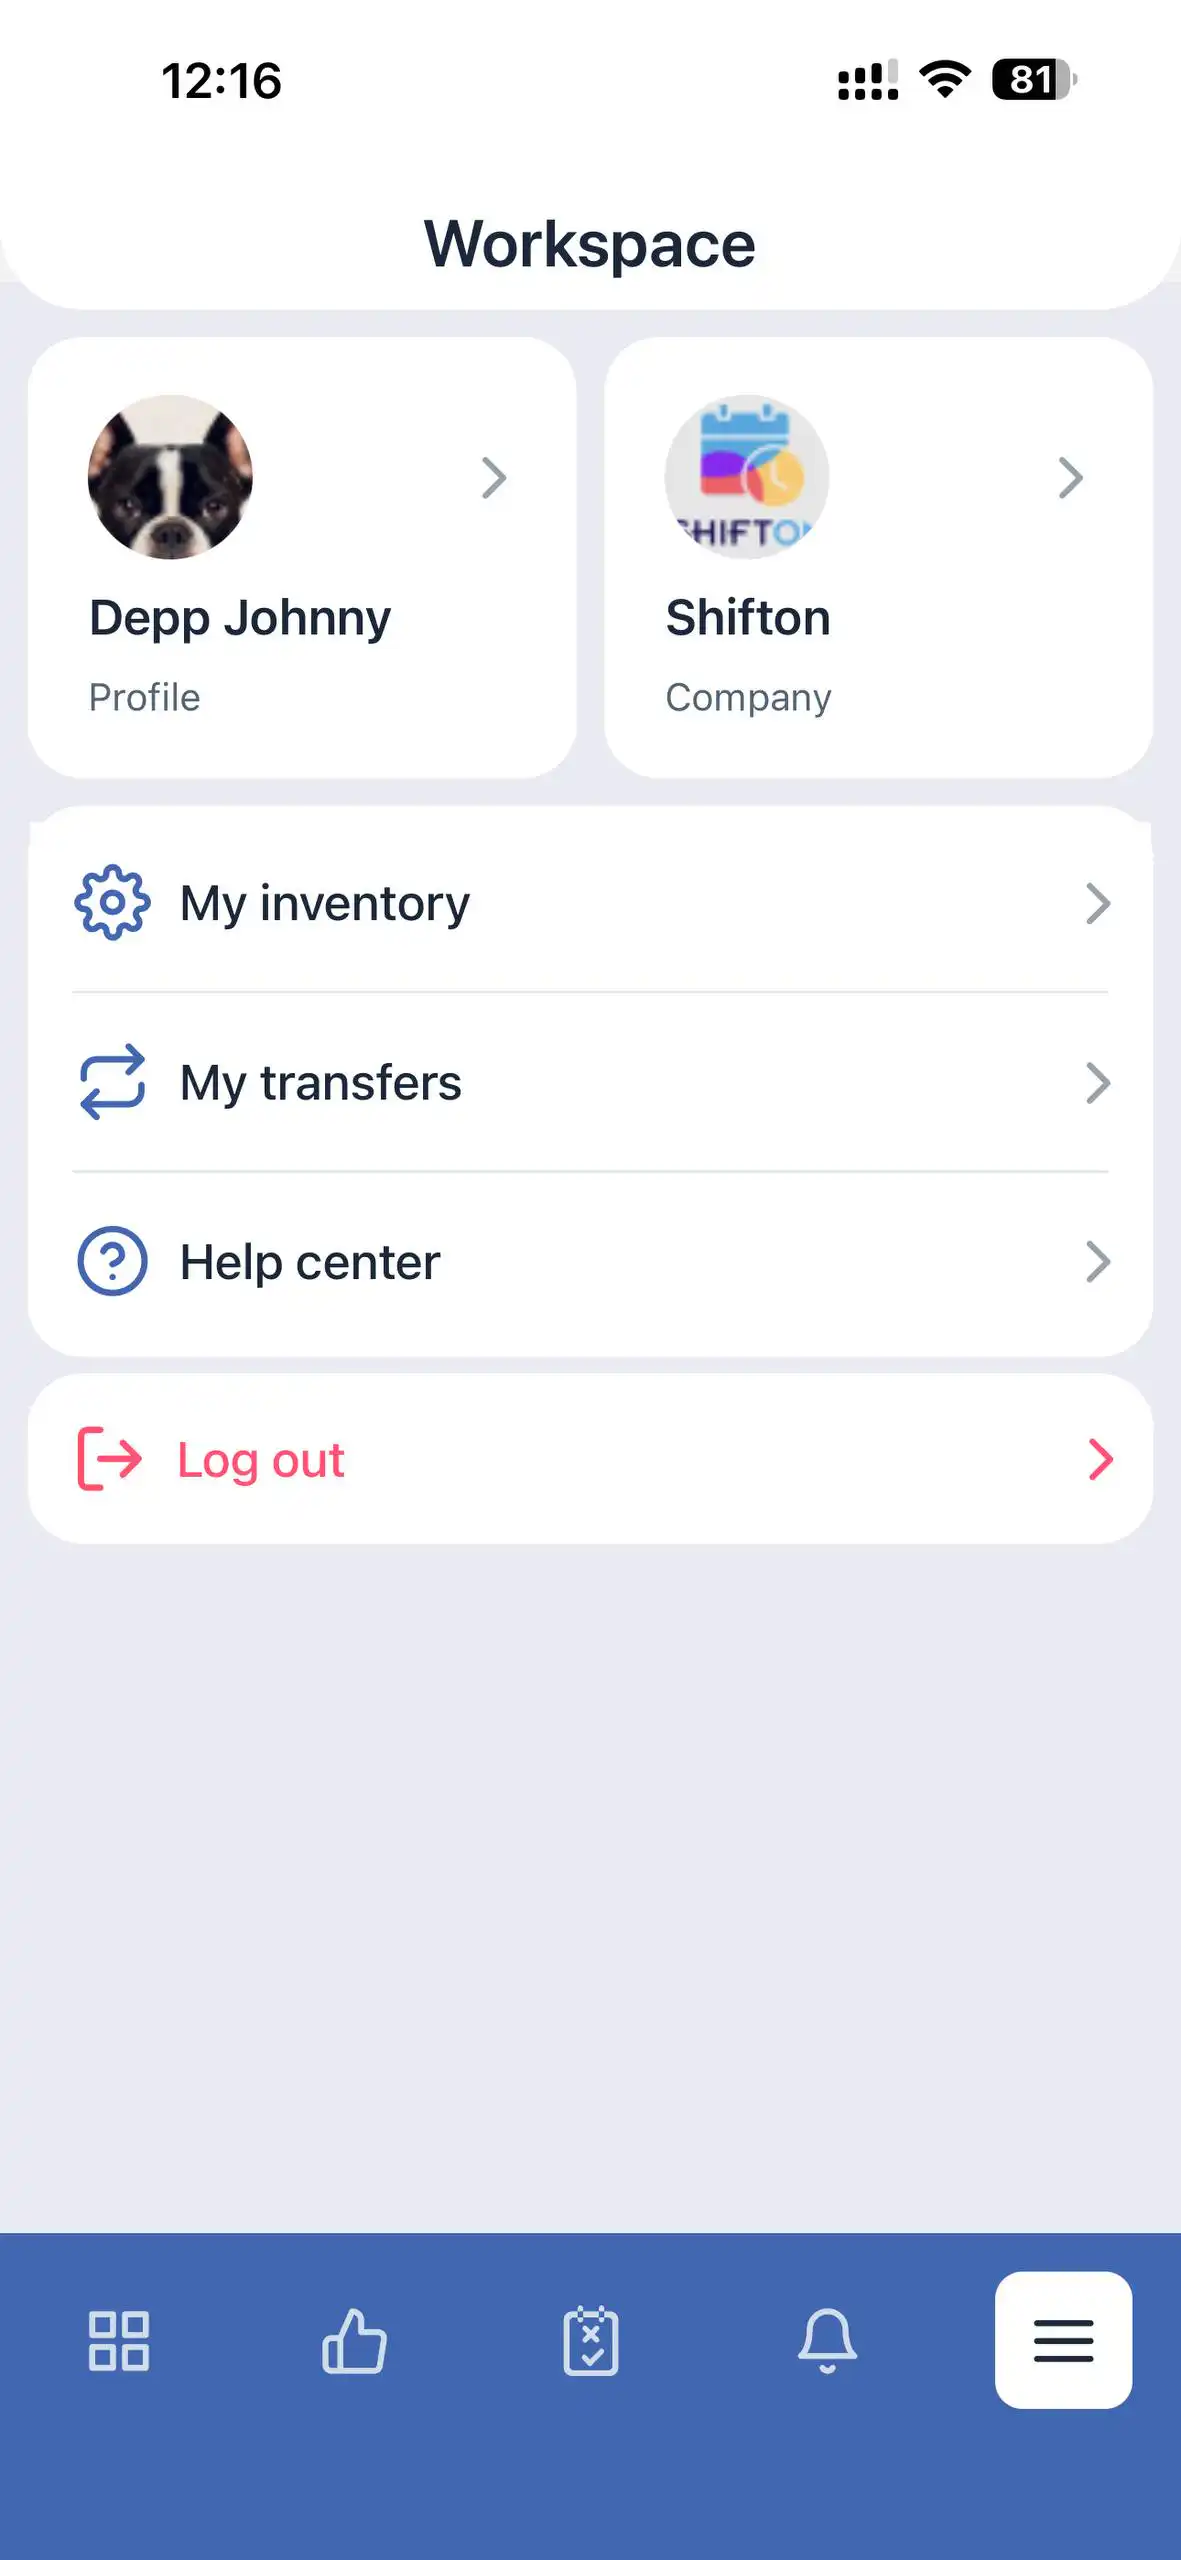
বাংলা The mobile app menu depends on the user role and assigned permissions. The available sections differ for Owners, Administrators, and Employees.
Owner and Administrator Menu
Includes:
-
My Profile
-
Company — switch between active companies
-
Company Employees
-
Tasks
-
Clients
-
My Inventory
-
My Transfers
-
Help Center
-
Log Out

Employee Menu
Includes:
-
My Profile
-
Company
-
My Inventory
-
My Transfers
-
Help Center
-
Log Out
Section Overview
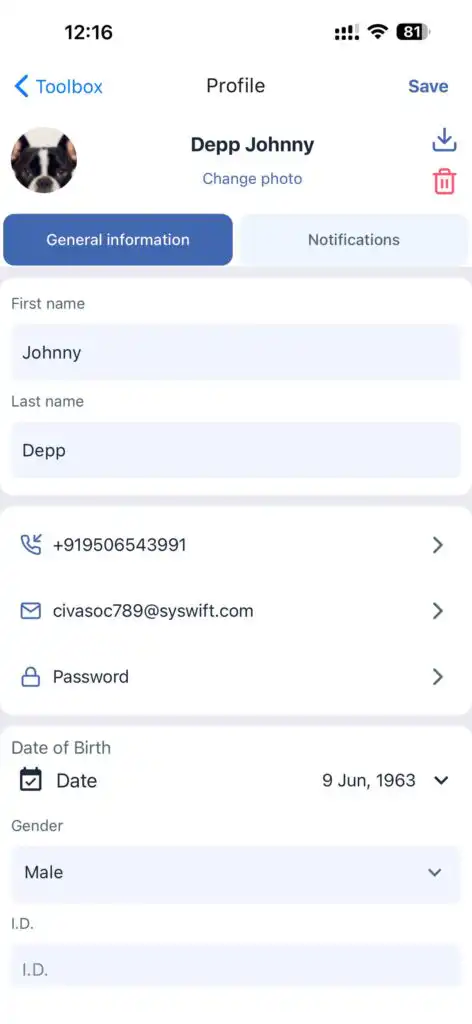
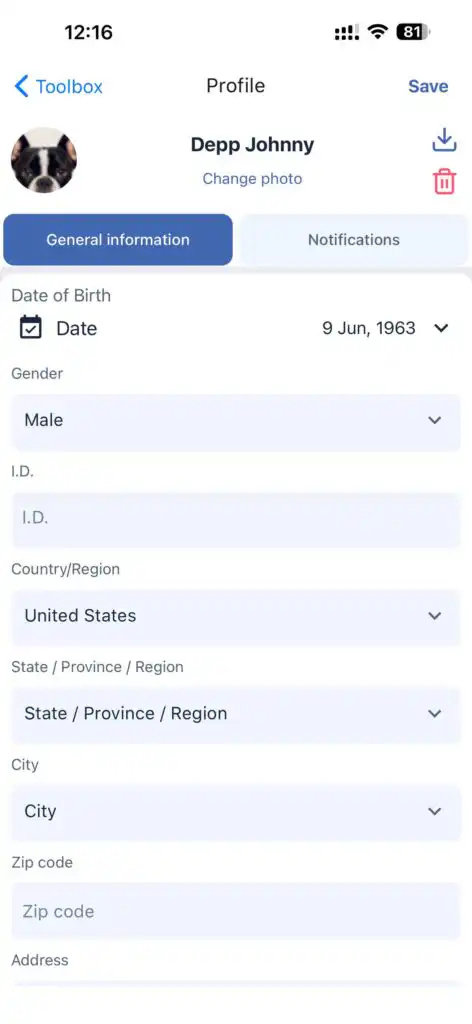
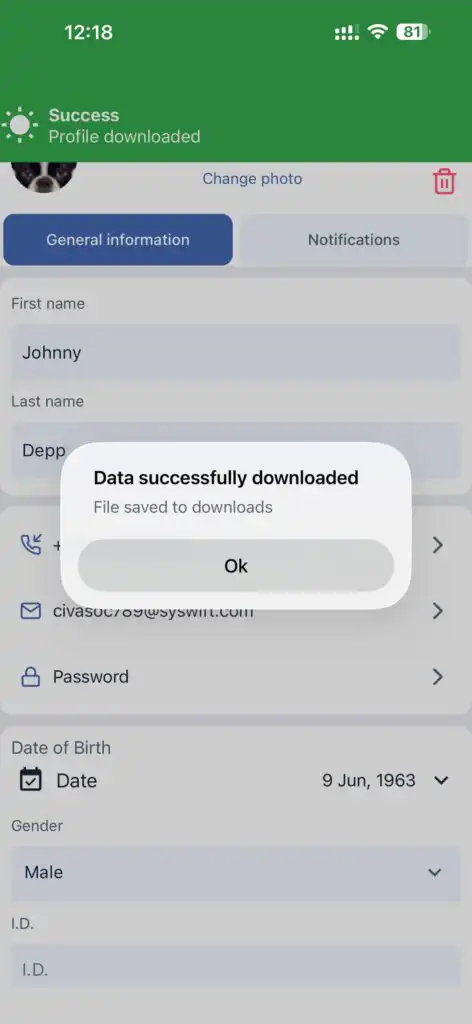
My Profile
Provides access to the user’s personal information.
General Information:
-
Name
-
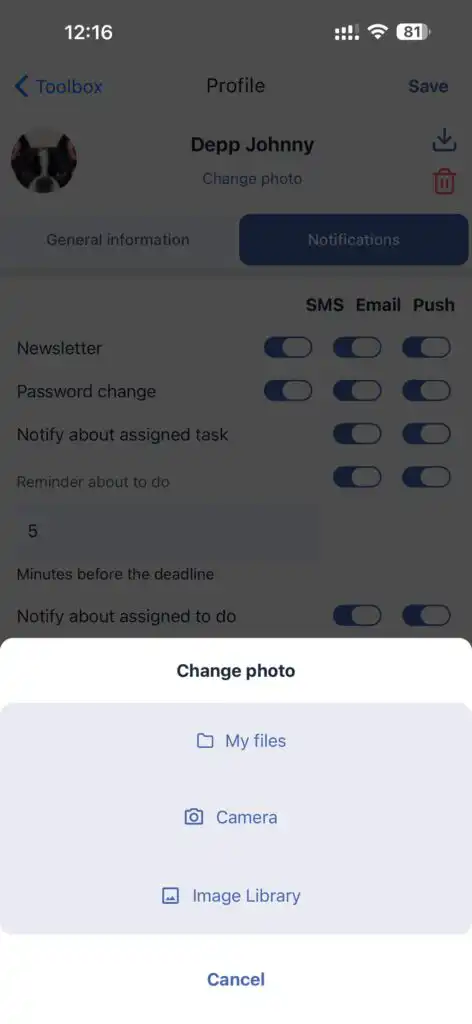
Profile photo (editable)
-
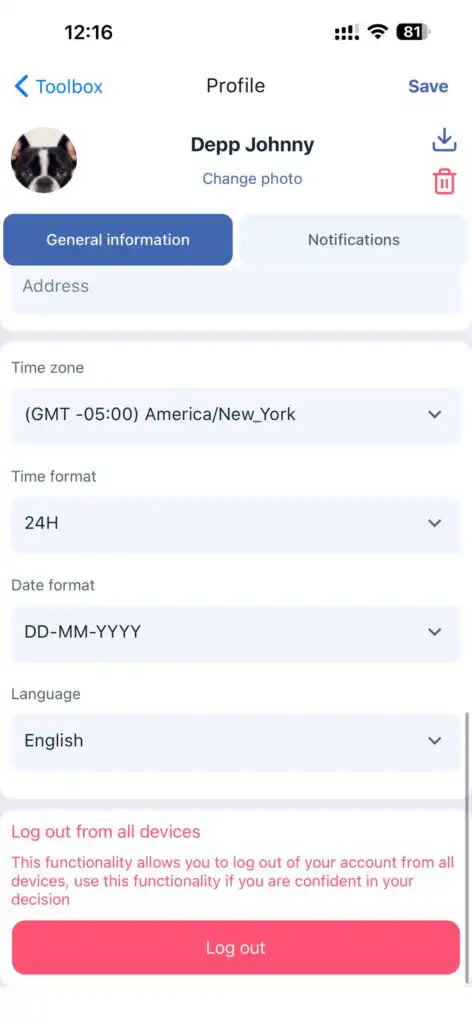
Address
-
Contact information
-
Password
-
Time zone
-
Time format
-
App language
Users can also download their profile data.
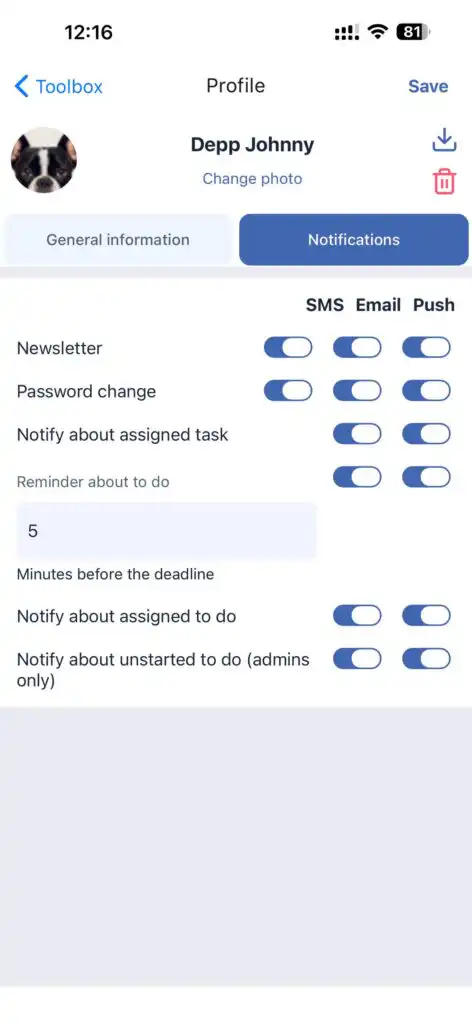
Notifications:
Settings for notifications regarding:
-
Tasks
-
To-Do items
-
Password changes
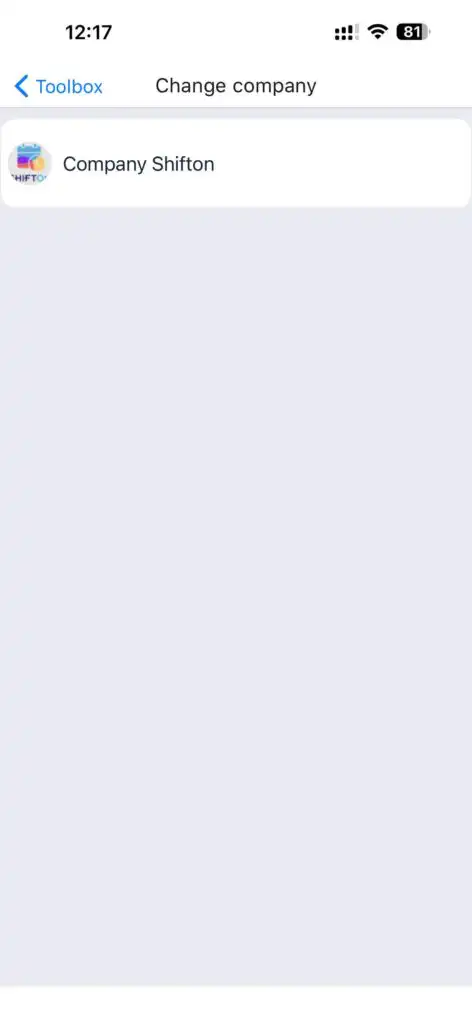
Company
Allows switching between companies if the user belongs to multiple companies.
Company Employees
This section allows you to:
-
View all employees
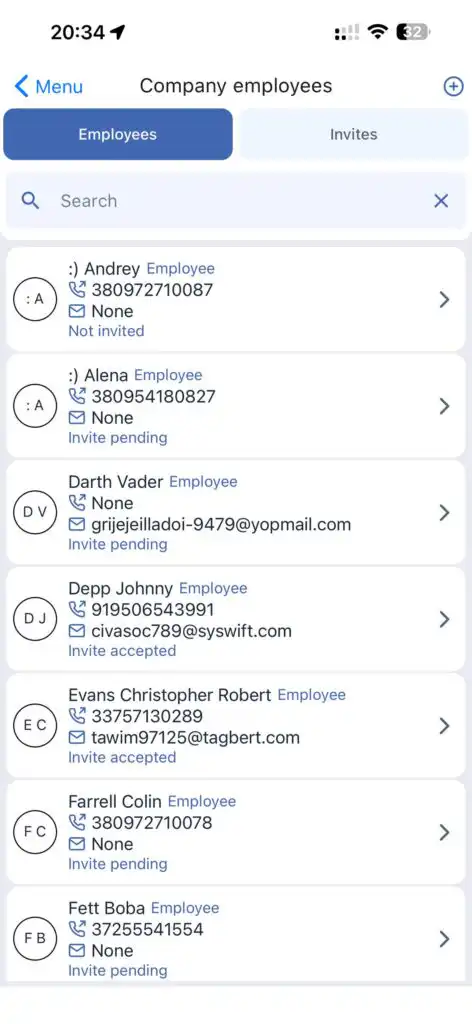
-
Create new employees
-
Send invitations
-
Edit profiles
-
Terminate or delete employees
Creating a New Employee
-
Tap the “+” icon at the top of the screen.
-
Enter employee information.
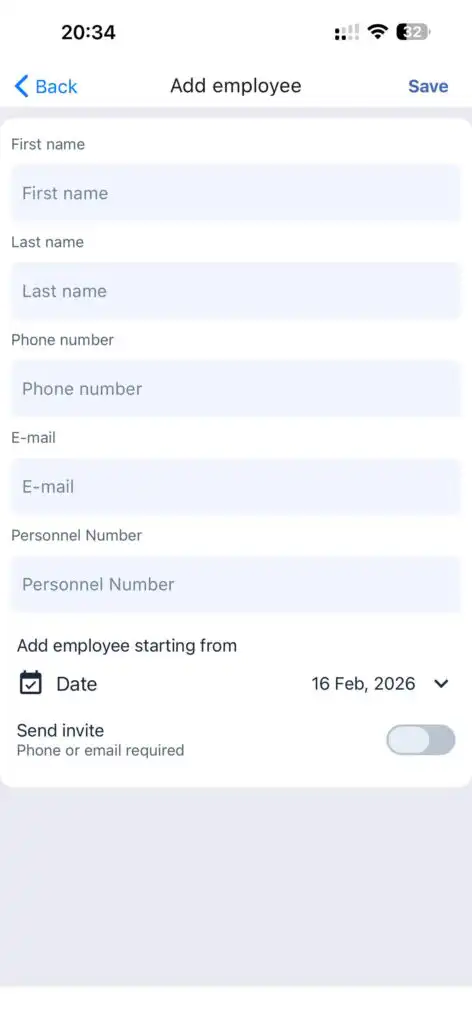
-
Tap Save.
-
To send an invitation, activate the Send Invitation toggle.
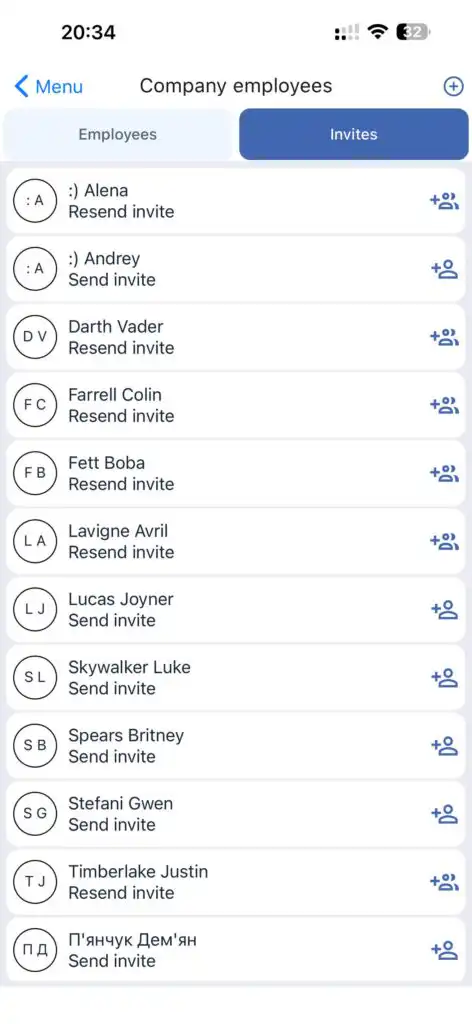
Inviting an Existing Employee
Go to the Invites section and tap Invite Employee.
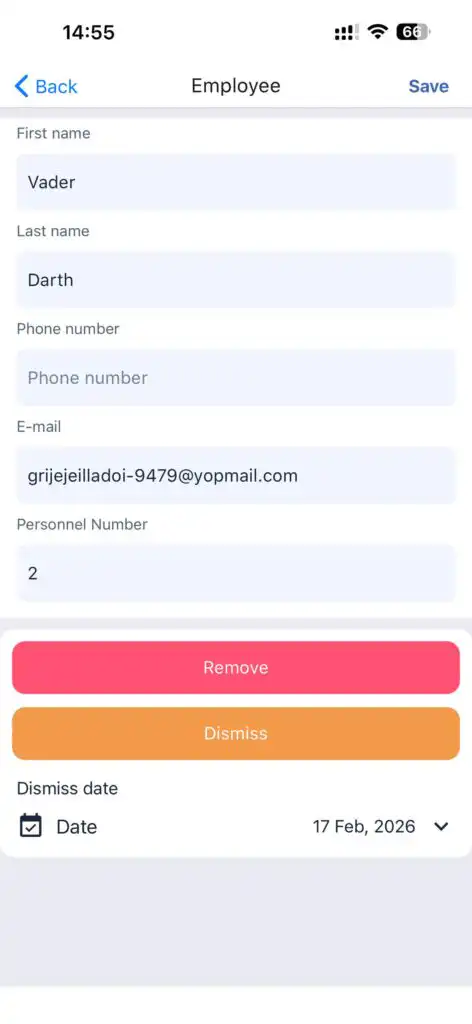
Editing / Deleting a Profile
Open the employee’s profile, make changes, and tap Save.
To remove or terminate an employee, use the corresponding button.
Tasks
Provides access to all tasks for all employees.
Features:
-
View tasks
-
Filter tasks
-
Select time period
-
Create new tasks
-
Edit existing tasks
Selecting a Time Period
You can choose the period for which you want to display tasks.
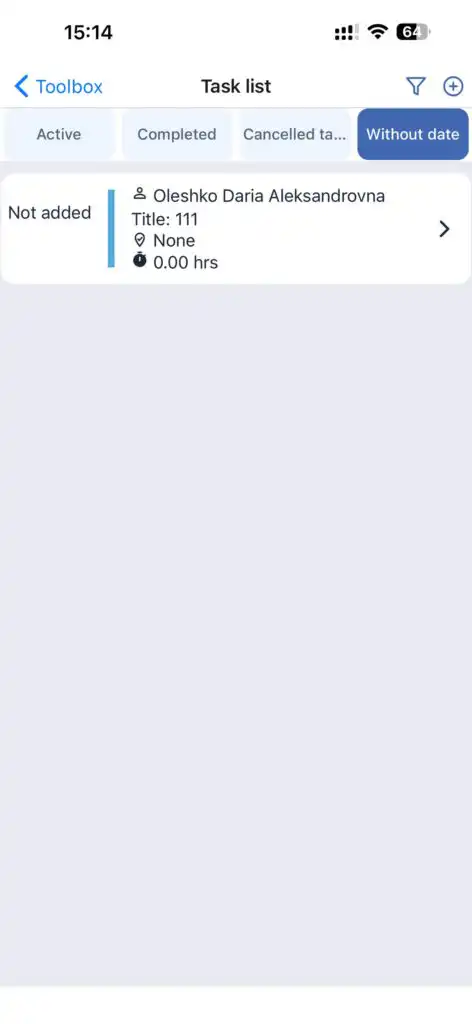
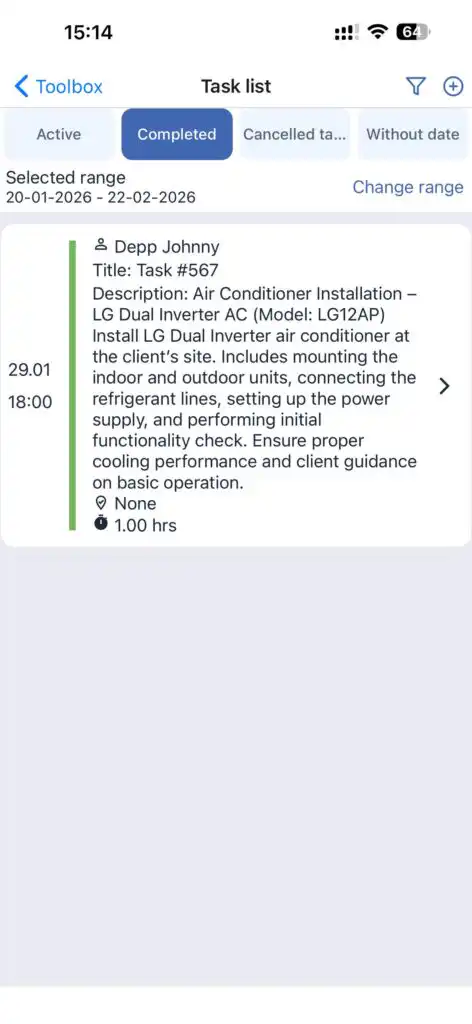
Task Types:
-
Active
-
Completed
-
Cancelled
-
No Date
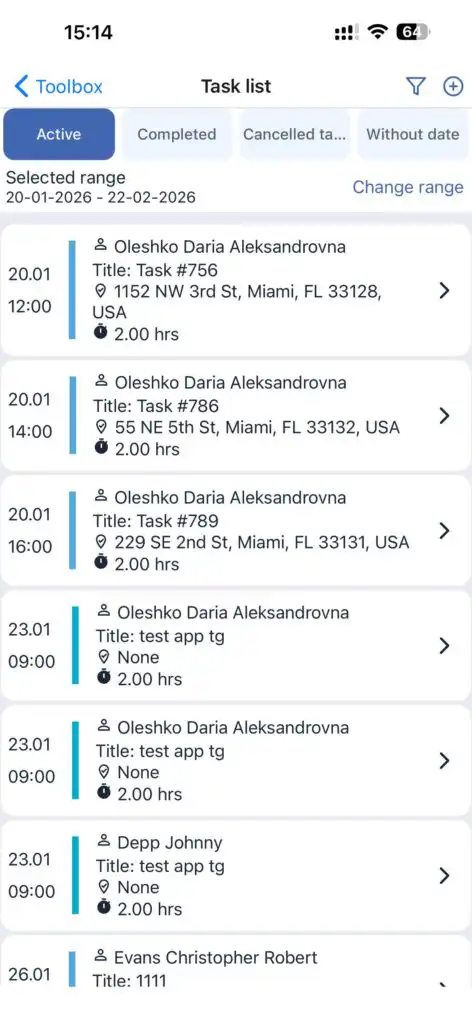
Task colors correspond to their status.
A circular arrows icon indicates a recurring task.
Filters:
-
By employee(s)
-
By status(es)

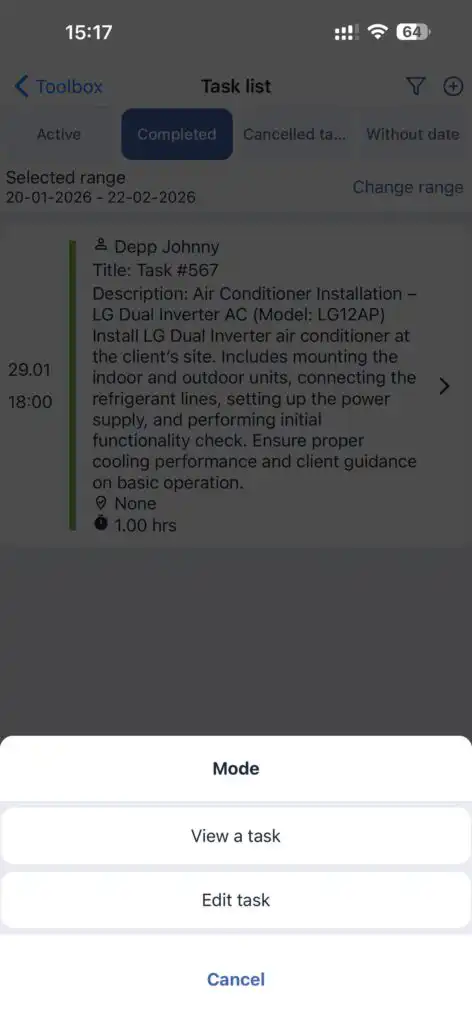
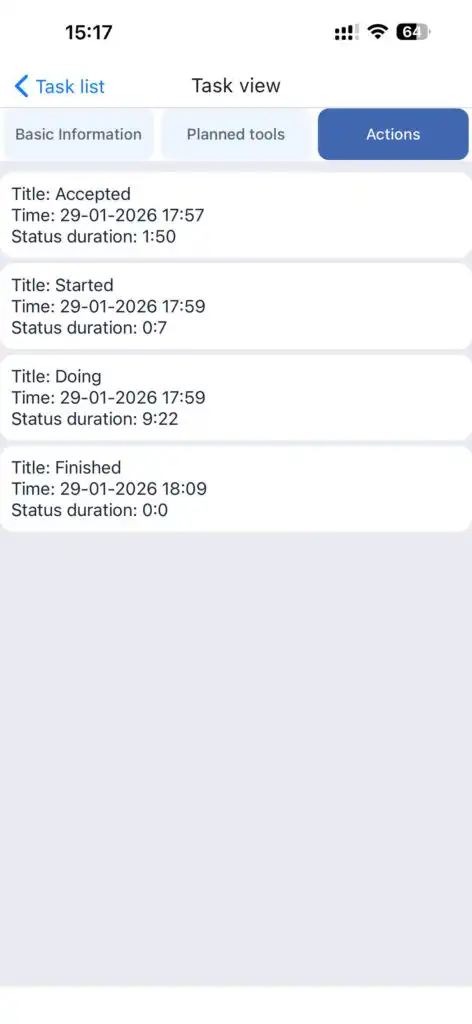
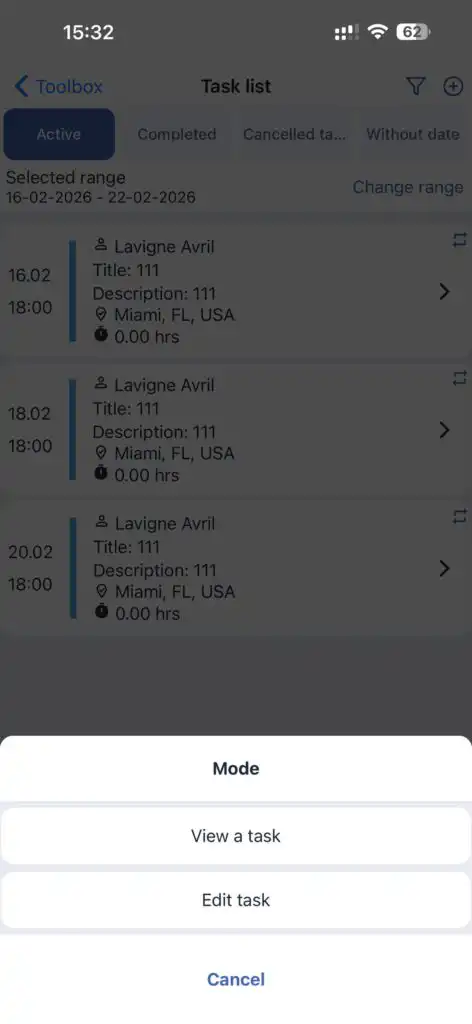
Viewing a Task
Displays:
-
Full task information
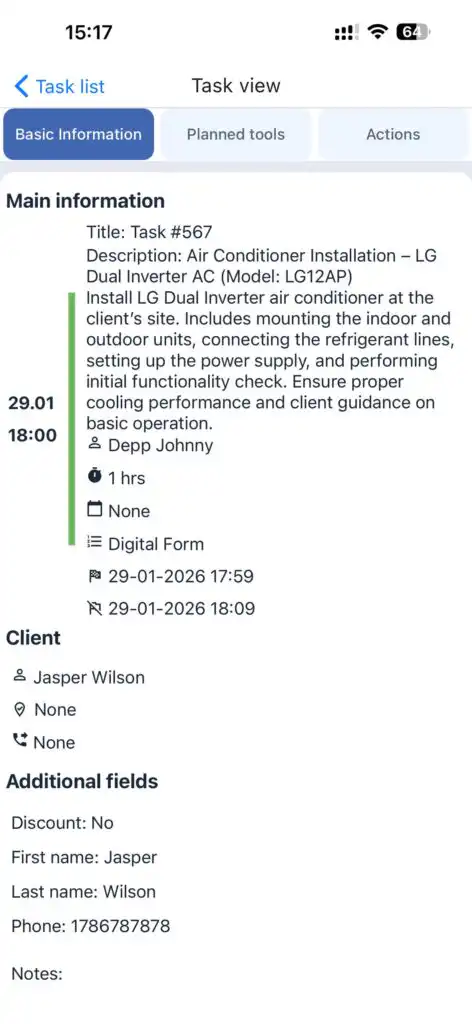
-
Planned tools

-
History of actions
Editing a Task
Editing is allowed only if the performer has not started the task.
In edit mode you can:
-
Modify the current task
-
Save the task as a new one with changes
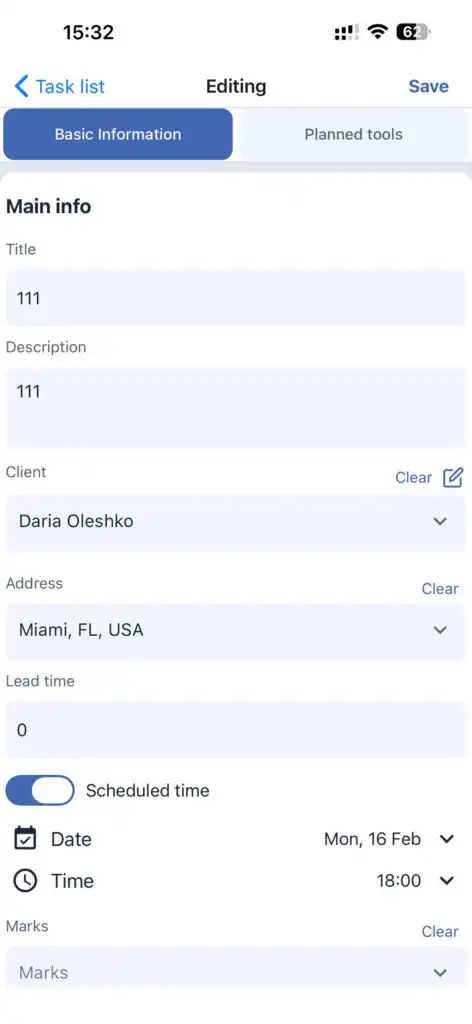
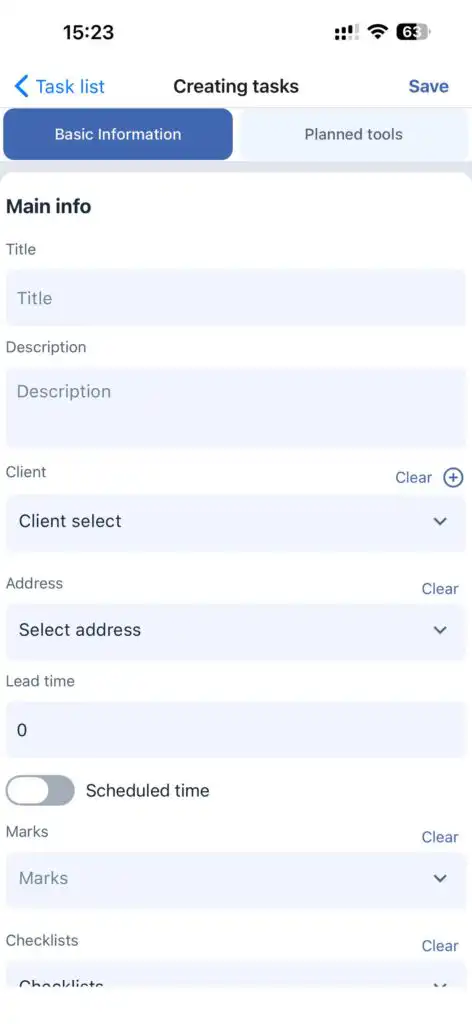
Creating a New Task
-
Tap “+” at the top of the screen.
-
Fill in task fields according to your company settings.
Client
You can:
-
Select an existing client
-
Create a new client (tap “+” next to the client field)
Client Address
After selecting the client, choose the address.
Duration
Set the expected duration of the task.
Date and Time
Drag the slider on the scheduled time bar to select the exact start date and time.
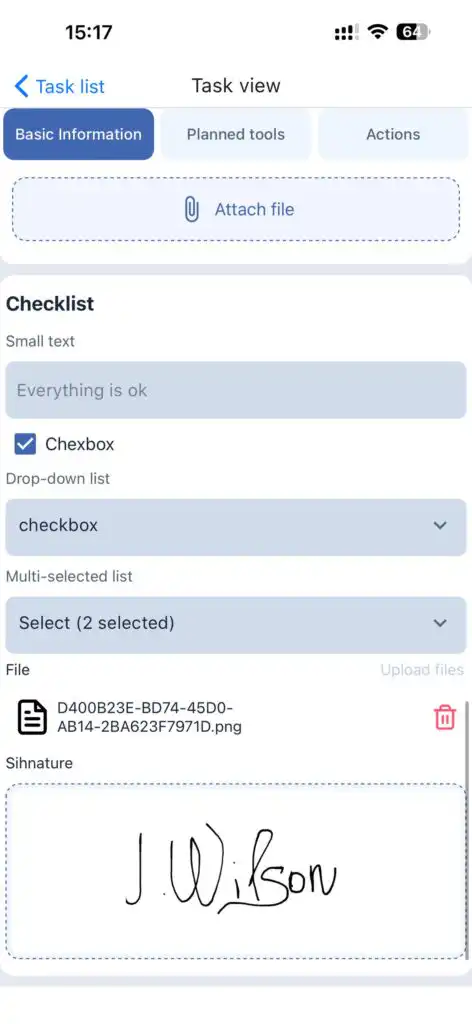
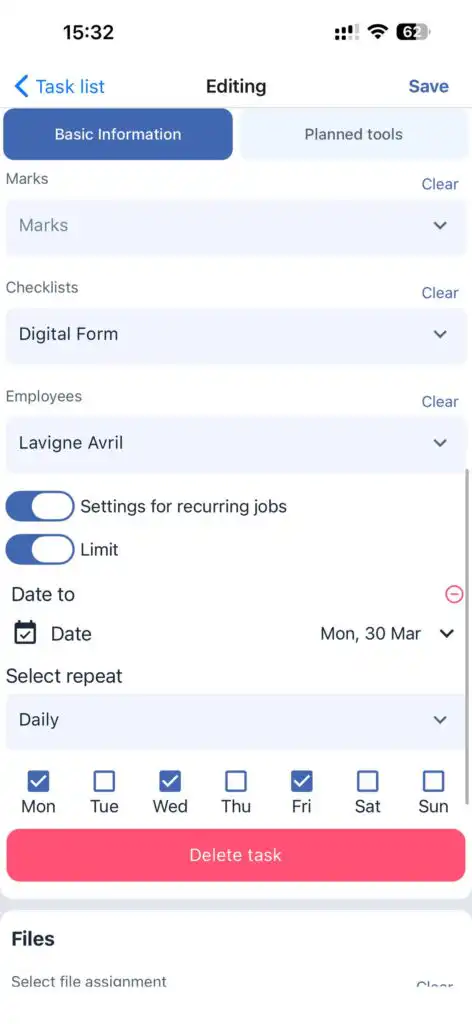
Additional Options
Add:
-
Tags
-
Checklist
-
Assign an employee
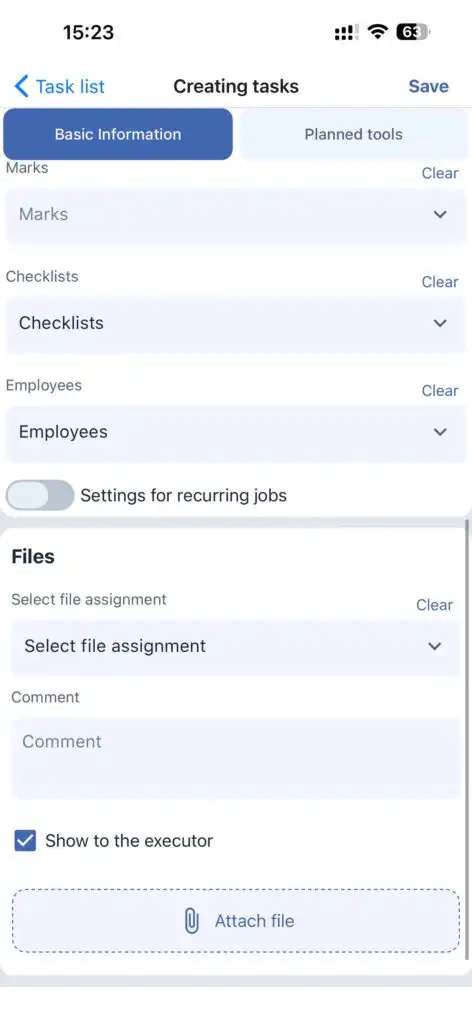
Recurring Tasks
Enable the Repeat Task toggle and specify:
-
Frequency (day, week, 2 weeks)
-
End date for task creation

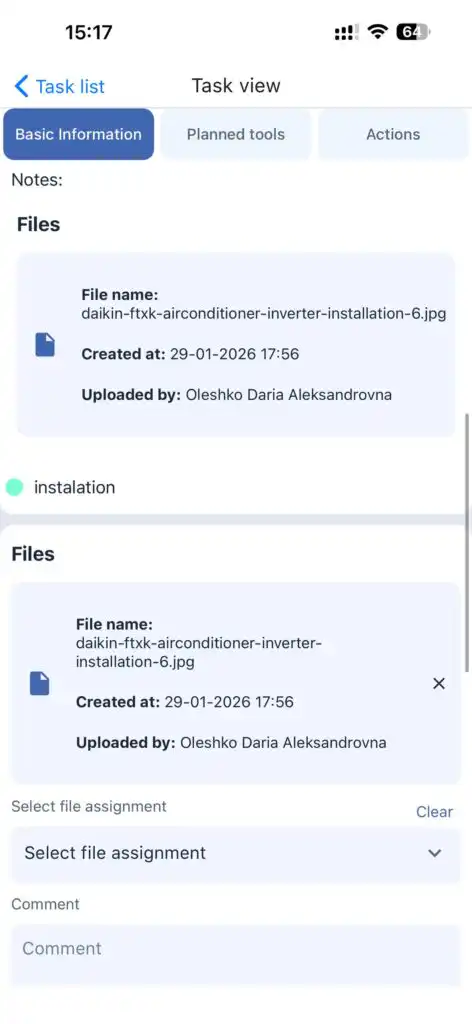
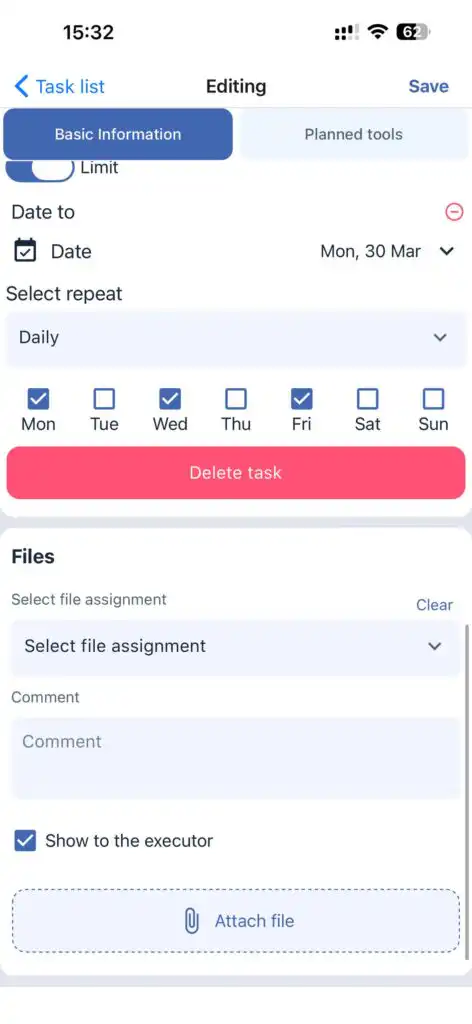
Files
Files can be attached to a task and optionally hidden from the performer.
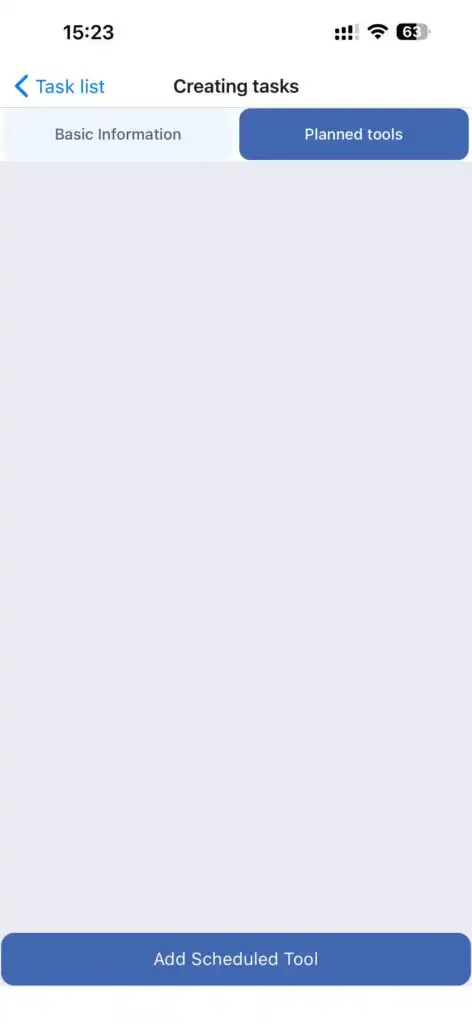
Planned Tools
This section allows you to add tools required for the task.
Tap Add Tool to select tools manually or scan them.
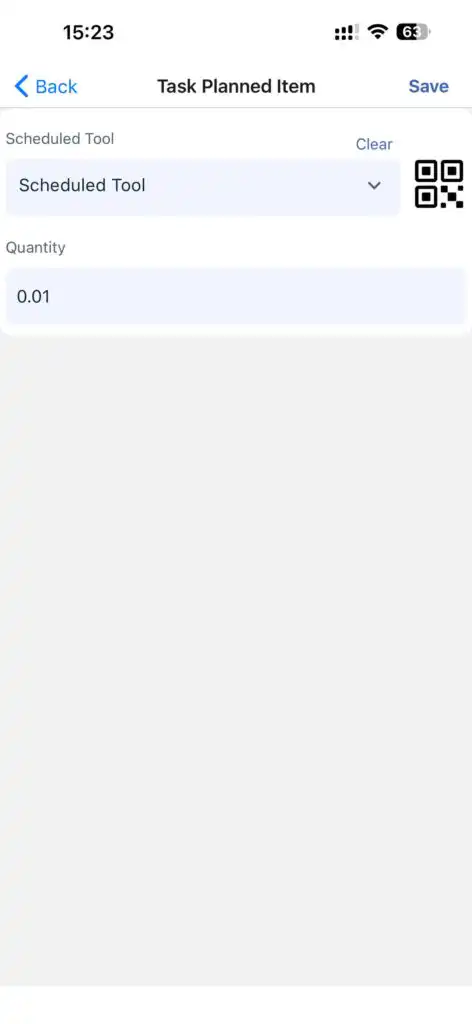
QR / Barcode Scanning
Tools are matched by scanning QR or barcodes according to:
-
batch_numberon the warehouse record
or -
external_idof the tool
If no match is found, the tool cannot be added.
After adding tools, tap Save in the tools section, then save the task.
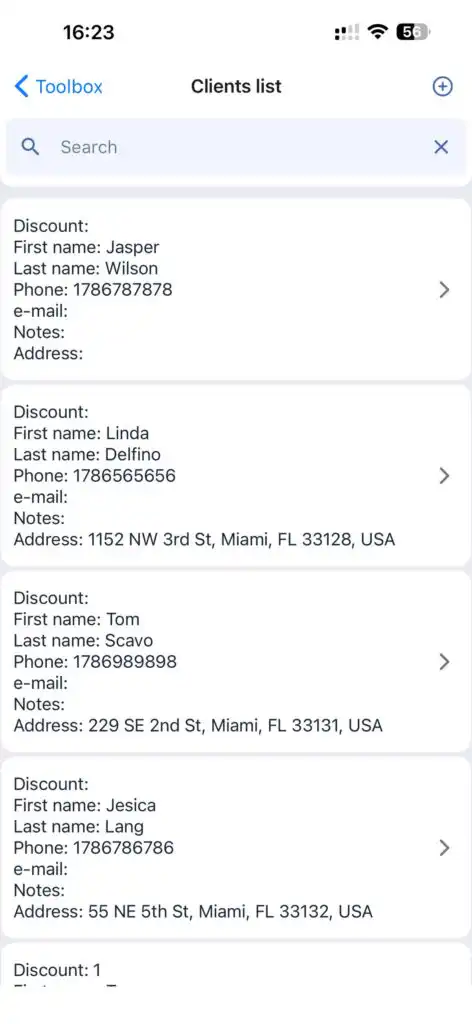
Clients
Allows you to:
-
View a list of clients
-
Search clients by name, surname, address, or other available data
-
Edit client details
-
View tasks related to a client
-
Delete a client
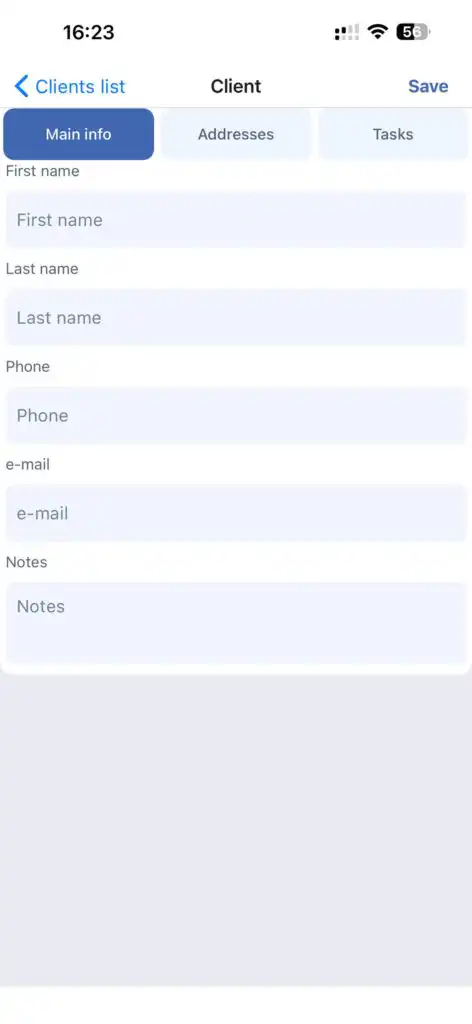
Creating a Client
Tap “+”, fill in the client fields, and tap Save.
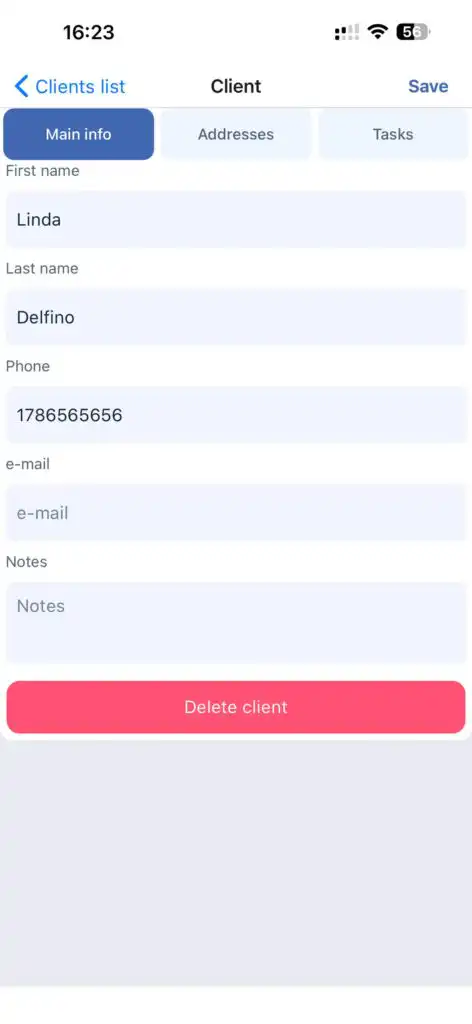
Editing a Client
Open the client profile, make changes, and tap Save.
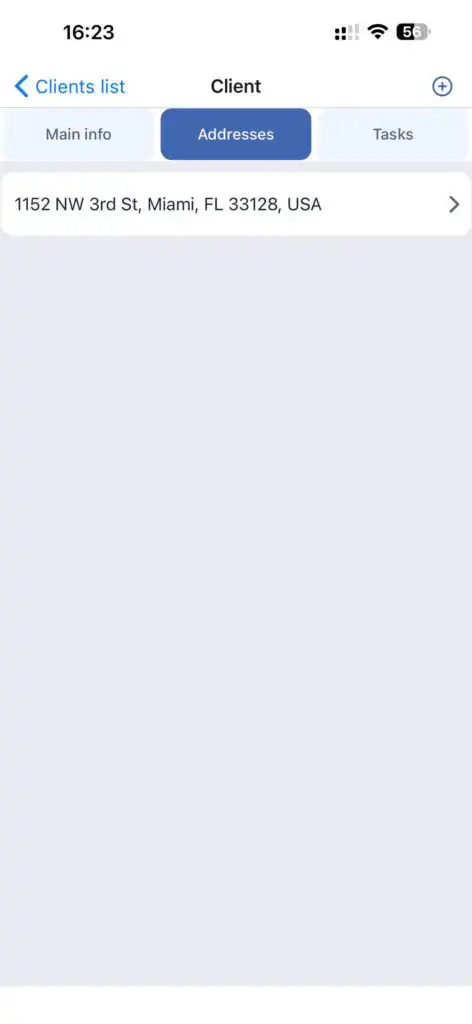
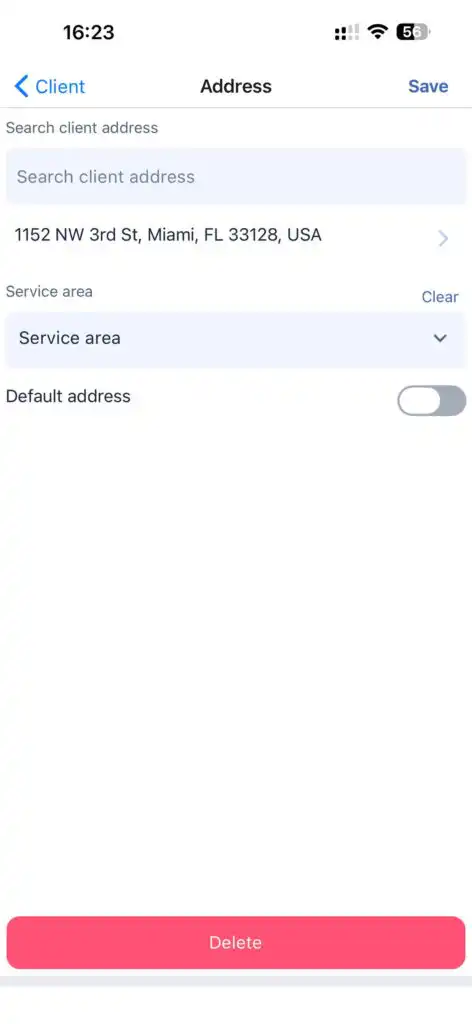
Client Addresses
In the Address tab, you can:
-
Add new addresses
-
Edit existing addresses
-
Select the service zone
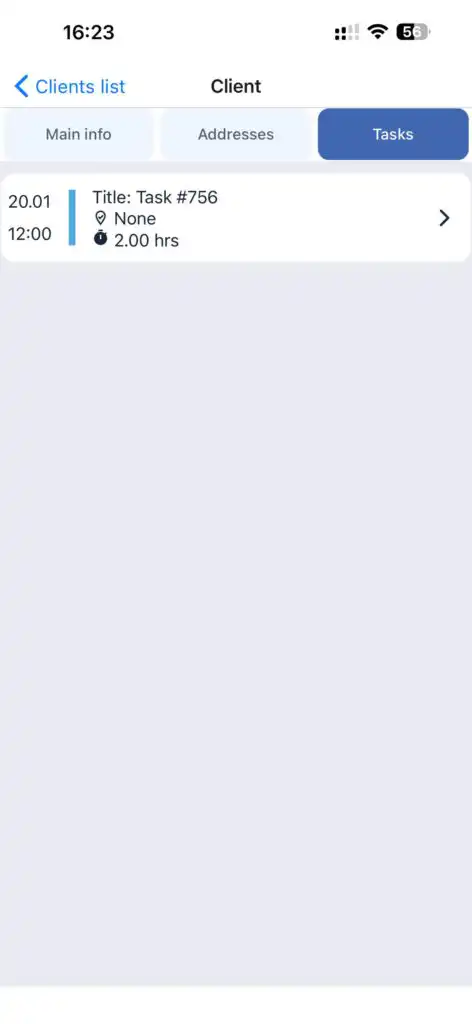
Viewing Client Tasks
Go to the Tasks tab in the client profile.
Deleting a Client
Tap the Delete button.
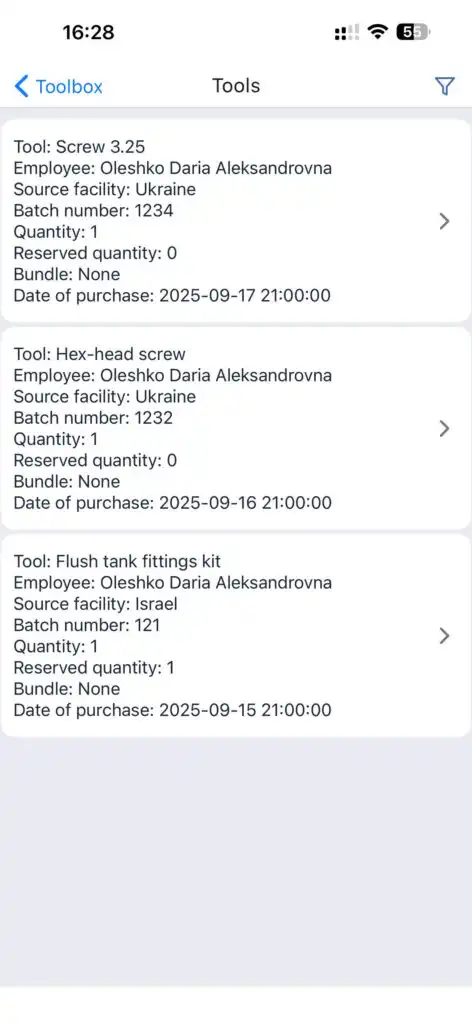
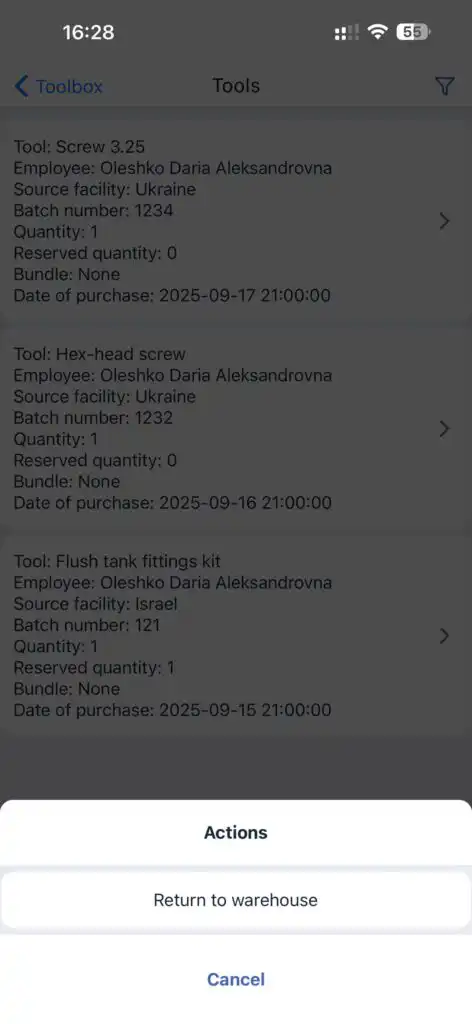
Tools (My Inventory)
Allows you to:
-
View tools
-
Filter tools
-
Return tools to the warehouse
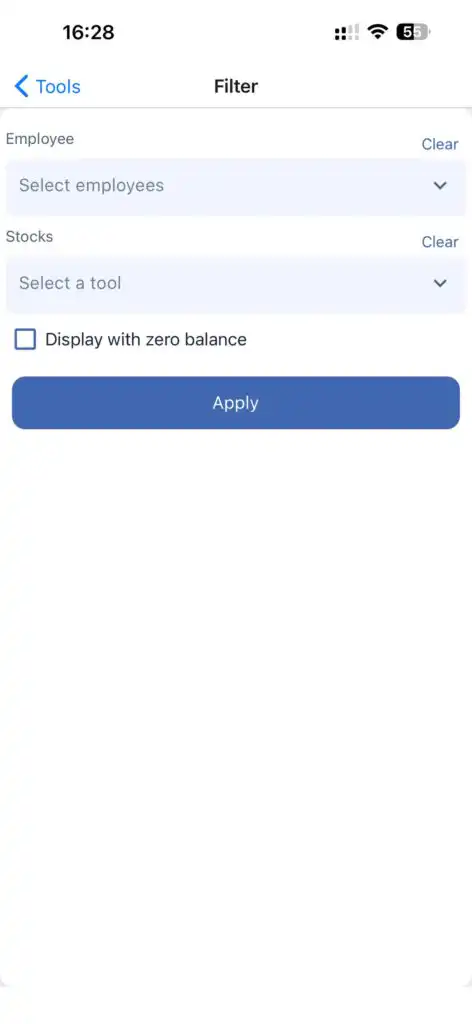
Filtering
Tap the filter icon at the top of the screen.
Available filters:
-
By employee(s)
-
By warehouse(s)
-
Zero-balance tools (previously assigned to employees)
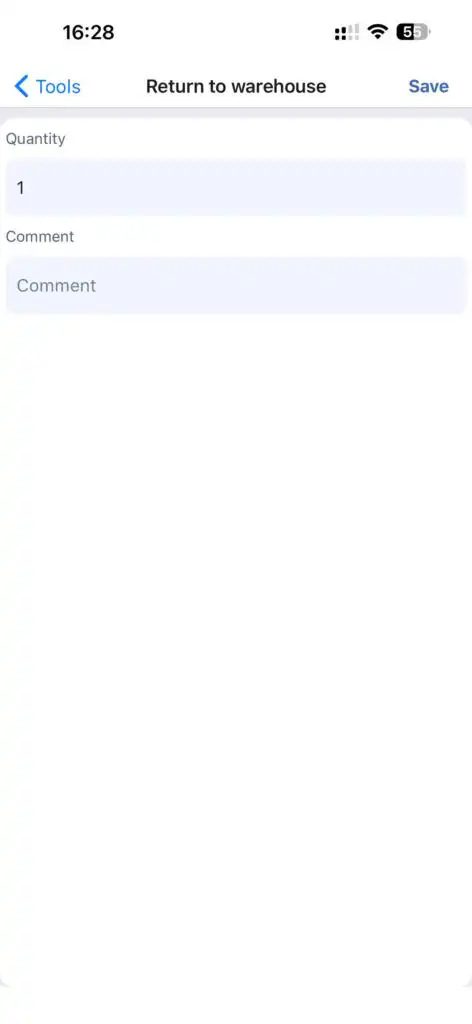
Returning a Tool
-
Open the tool.
-
Tap Return to Warehouse.
-
Enter quantity.
-
Optionally add a comment.
-
Tap Save.
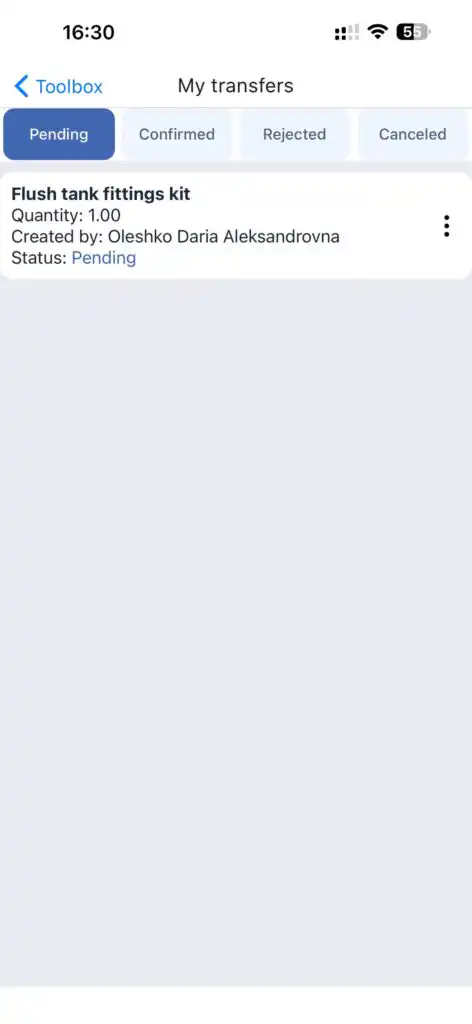
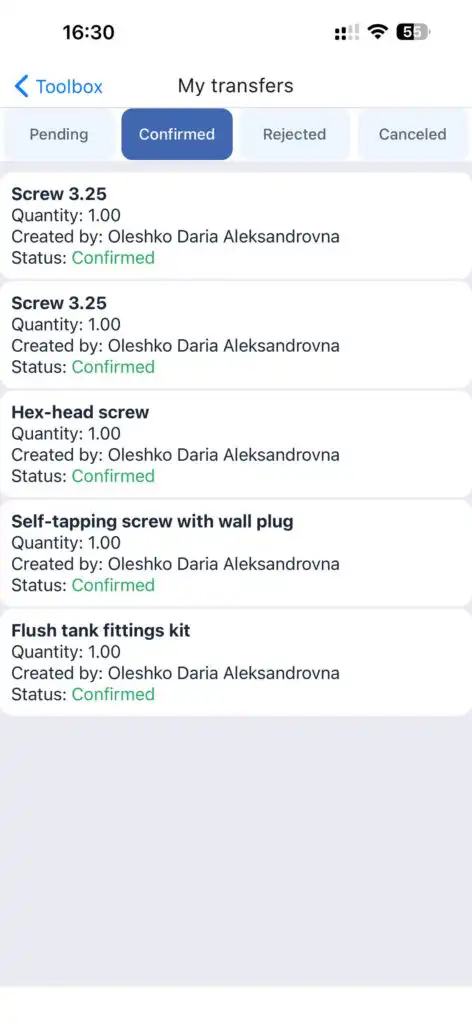
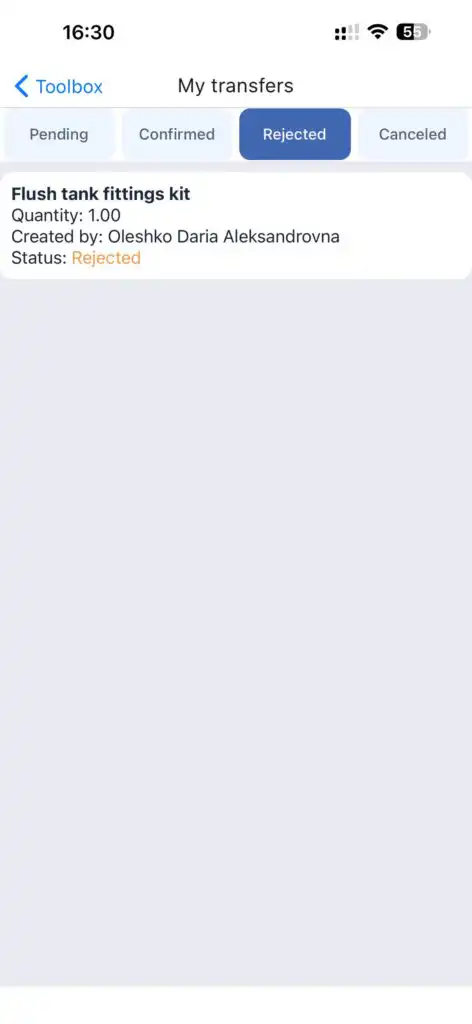
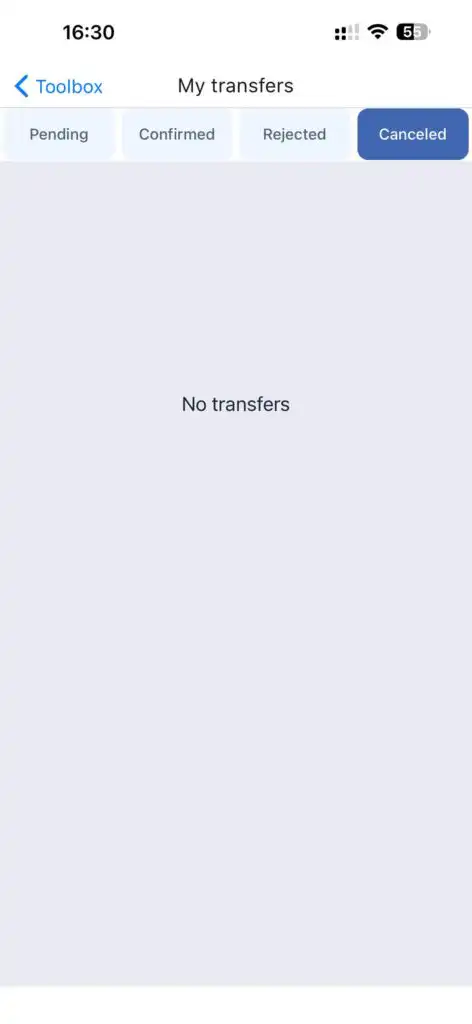
My Transfers
Displays all tool transactions.
Statuses:
-
Pending
-
Confirmed
-
Rejected
-
Cancelled
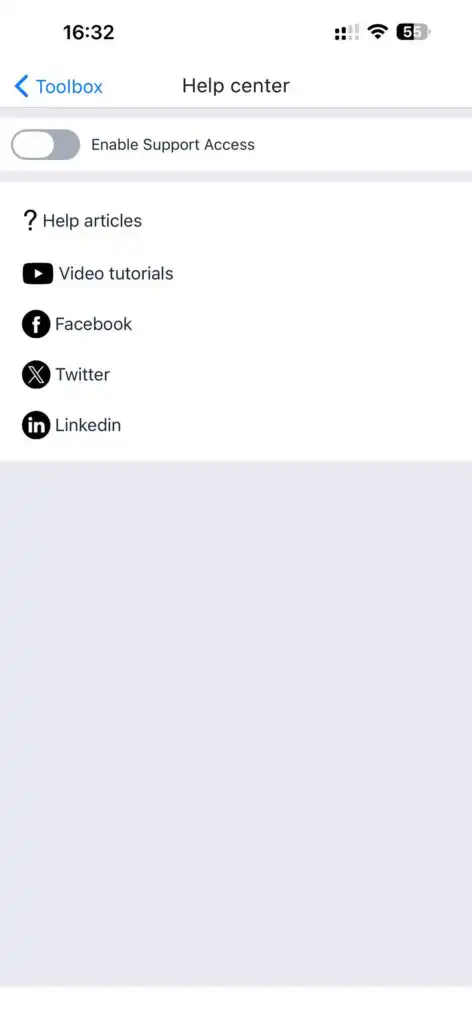
Help Center
Allows you to:
-
Access guides and instructions
-
Open social media links
-
Grant support access
Activate the Support Access toggle to allow temporary support access.
Log Out
Ends the current session and logs the user out.
FAQ
Q: Why don’t I see some menu sections?
A: Menu visibility depends on your role and assigned permissions.
Q: Can I edit a task after the performer has started?
A: No. Editing is disabled once a task is in progress.
Q: Can I save part of a task as a new one?
A: Yes. Edit mode allows saving a task as a new copy.
Q: Why isn’t a tool recognized via QR?
A: The scanned code must match the tool’s batch_number or external_id.
Q: Can I create a client directly from a task?
A: Yes. Tap “+” next to the client field.
Q: Can a client have multiple addresses?
A: Yes. You can add multiple addresses in the Address tab.
Q: Can I return part of a tool quantity?
A: Yes. Specify the quantity during return.
Q: Can I change a client’s service zone?
A: Yes. This is done in the client’s address section.
Q: What happens if I don’t tap “Save”?
A: All changes will be lost.
Q: Can I hide task files from the performer?
A: Yes. Toggle visibility when uploading files.
Q: How do I check tool transaction history?
A: In the My Transfers section.
Q: What does “Pending” status mean in transfers?
A: The transaction has not yet been confirmed.
Q: How do I grant temporary support access?
A: Enable the Support Access toggle in the Help Center.
Q: Can I download my profile data?
A: Yes. This is available in My Profile.
Q: What happens after logging out?
A: Your current session ends, and you must log in again.